
Ok, recently I summarized a whole bunch of tips and techniques by Lisa Eldridge, for how to achieve a smokey eye. Now, I’m going to do the same for Rae Morris. Let’s see what her suggestions are, shall we?
As far as I can tell, the major difference between Rae and Lisa is Rae’s higher focus on creating ‘lift’ for the eyes, and a more elongated, feline eye shape – something which is mentioned repeatedly in her video (and therefore, my summary) below. Take a look!
The ‘classic’ smokey eye, from May, 2016
Summary of technique: Prime and powder your lids and your under-eye area. Then start applying your lightest shade along the lower lash line, before you do the upper lids. Towards the outer corner, create a small wing from below, by dragging your brush upwards a little, to give some ‘lift’ to the eye. Continue with the same shade on the upper eyelid and sweep it across: vertically, just high enough to reach the brow bone / crease, and horizontally, extend the color until you meet some of the pigment from the small ‘wing’ created earlier.
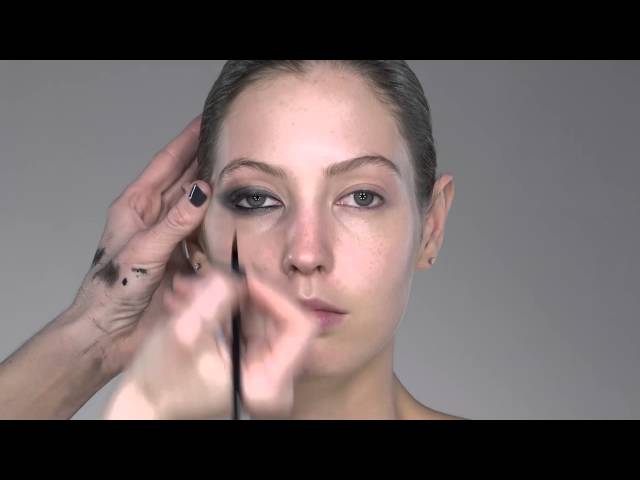
After you have created this base, now it is finally time to start darkening the color, with the deepest shade starting from the lashes, and graduating upwards. So, with a dark pencil, create a triangle shape just above your upper lash line – which is slightly thicker towards the outer corner, and becomes thinner as you move inwards, creating a ‘lifting’ effect. Stay quite close to the lashes (i.e., don’t create a wing extending sideways from the eye), and start blending the pencil with a brush. Move below with the same brush, and darken between the lashes with leftover pigment. You can then connect the darker shade from above to that below the eye, and blend them around in such as way as to darken / lift your crease [shown around 05:30]. Add another layer of black pencil to further intensify around the lashes, and then blend again.
You’re now ready to clean up fallout with some cotton soaked in make-up remover – which you can also use to create a very defined ‘wing’ at the outer corner: just drag the cotton in a diagonal direction, on a line connecting the corner of your nose to the outer corner of your eye. You can follow-up with a foundation brush on the same line, to further define the look. Curl lashes & add mascara. Done!
Useful tip #1: Just like in the Lisa Eldridge videos mentioned before, do your eyes first, then clean up, then move on to face make-up.
Useful tip #2: After priming the lids, dust on some skin-colored powder across the lids and just under the eye. This will help eyeshadow blend more easily and beautifully.
Useful tip #3: Start your look with the softest / lightest shade you plan to use, applied over the powder. This too helps a lot with blending.
Useful tip #4: Start the smokey eye with the under-eye area first, not the lids. This is because the line of pigment from underneath the eye will extend just out and up (creating ‘lift’) when it reaches the outer corner. In this way, it will guide whereabouts you later place eyeshadow on the upper lid, in order to join that with the pigment from underneath.
Useful tip #5: Apply and buff around dark colors with small brushes, and keep bigger brushes to blend lighter colors.
Useful tip #6: For hooded eyes, keep your eyes open to check color placement. If you lift your eyebrow and then apply color, you might accidentally place pigment in such a way that makes the hood more obvious. The color should be tailored to how your eyes look when open, not closed or stretched upwards.
Useful tip #7: For droopy or very round eyes, you can color your waterline with a dark color to add some ‘lift’.
Useful tip #8: Don’t add any new layers of pigment until the one already applied has been blended out adequately. If you add too much pigment in one go, you’ll probably spend a long time blending away and sheering down edges.
Useful tip #9: You can rub an eyeliner brush over your eye pencil, and use that for added precision and placing color right in between lashes.
Useful tip #10 (In the same video, but not related to the smokey eye): Don’t let any foundation get on your lips. Lip products usually don’t mix with foundations, and so will tend to separate and look cakey.
Useful tip #11 (In the same video, but also not related to the smokey eye): If you add a veil of powder over the foundation and your skin still gets oily throughout the day, don’t re-apply powder directly over the skin oils. First pat down the oil with some blotting paper to absorb the excess, and then add the extra powder. This will make it look fresher and less cakey.
Ok, this one was very dense with information and tips. Hopefully not too overwhelming. Hope it helps!
Lex
